


Wayne Erickson's
1939
Chevrolet Transformation
| Here is a set of photos showing the transformation of my 1939 Chevrolet from stock to modified. This process began in late October 2001 and continues today. | |
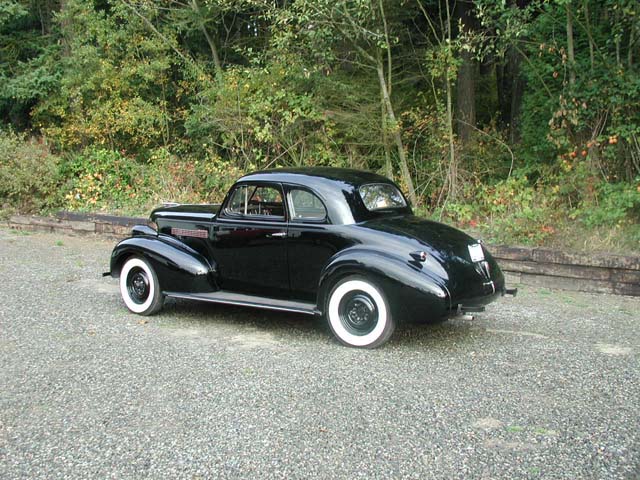
| Here is the car in its stock condition. This was originally a South Dakota car that my father restored about 10 years ago. I bought the car from him and kept it stock for a couple of years until deciding to update its running gear. | |
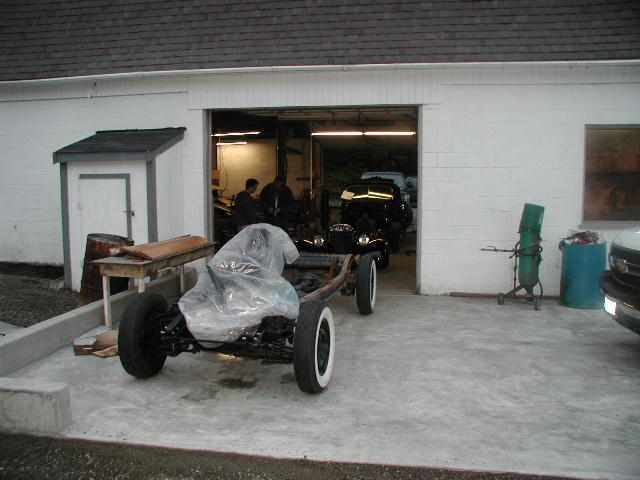
| On October 26, 2001 I drove the car onto my trailer and delivered it to the shop for Ron Pircey Racing located in Federal Way, Wa. Here is the car outside his shop. The car ran under its own power with its 216 straight six engine. | |
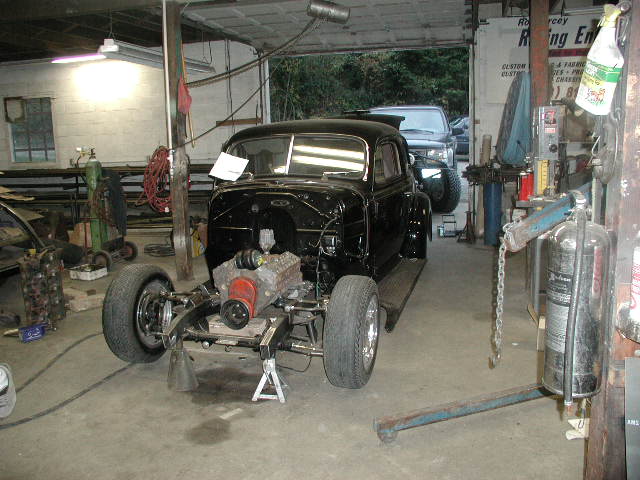
| By November 6, 2001 many things had been changed. The body was lifted off the original frame and set on a new frame I had ordered from Art Morrison Enterprises in Fife, WA. To accommodate the extra kickup in the rear, interior sheet metal had to be modified. | |
| An old Chevy engine block was set in the frame to help determine how the running gear would fit. | |
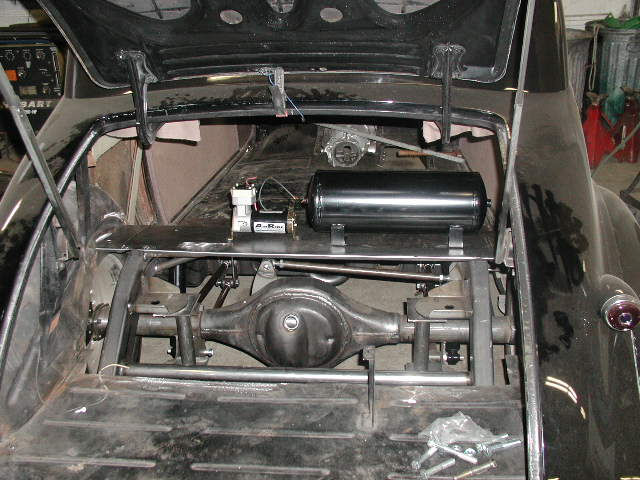
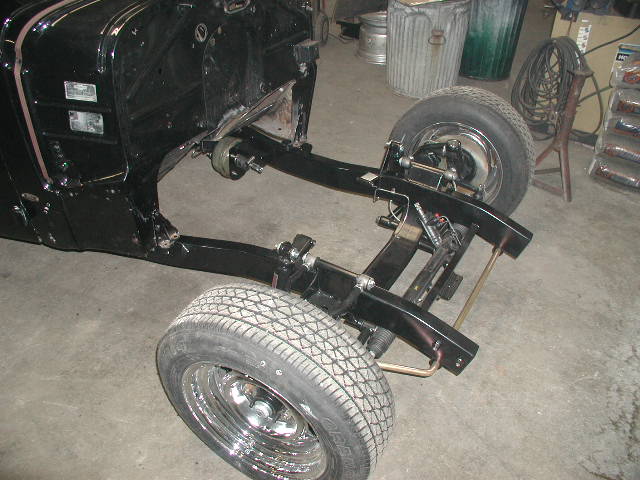
| Here you can see the inside sheet metal cut out and the four-bar rear suspension. The rear end is a new 9 inch Ford from Currie Enterprises. The suspension is an AirRide Technologies system with a 4-way control. | |
| The original frame was rolled out and I brought it back home. Anybody need a nice straight 1939 Chevrolet Master Deluxe frame with a rebuilt 216? | |
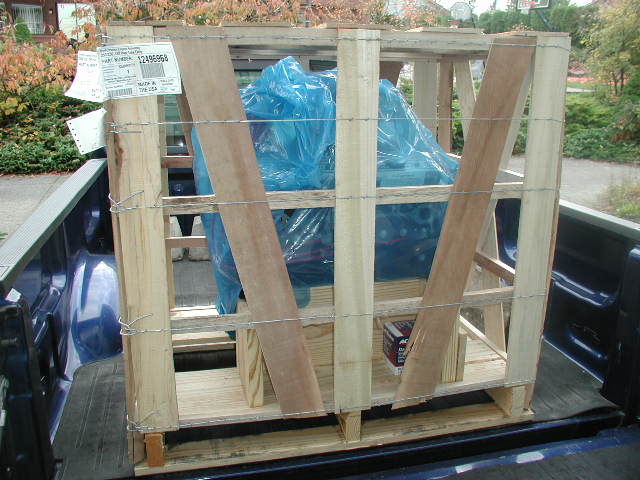
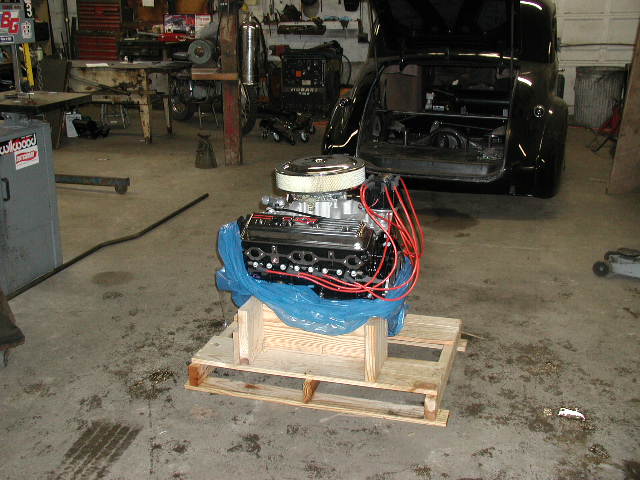
| For an engine I went with a new Chevrolet 350 H.O. Deluxe. They call these crate engines because they really do come in a crate. | |
| Here is the engine with the outer crate removed. The engine is complete except for headers, starter motor, and pulleys. | |
| Here you can see the air compressor and air tank being located above the rear end. | |
| With some old temporary wheels bolted on, we are beginning to see how the car will set with the new frame and suspension. | |
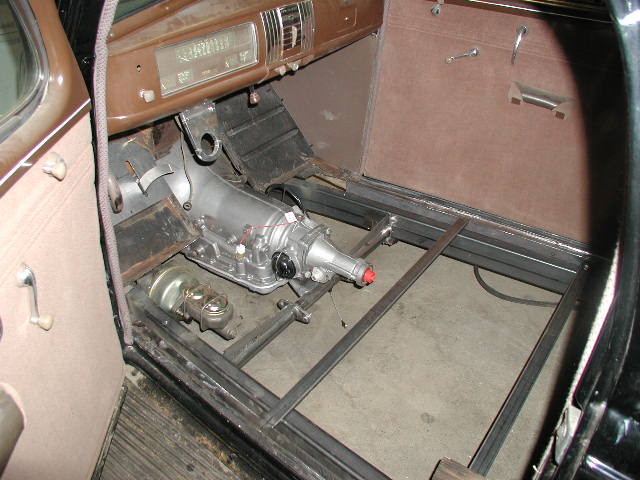
| For a transmission I ordered a 700-R4 from Phoenix Transmissions out of Texas. Once we bolted the transmission in, we could see that for clearance we would have to rebuild the entire floor to allow for the drive shaft. The original floor in a 39 is pretty flat and we needed to add a drive shaft tunnel. | |
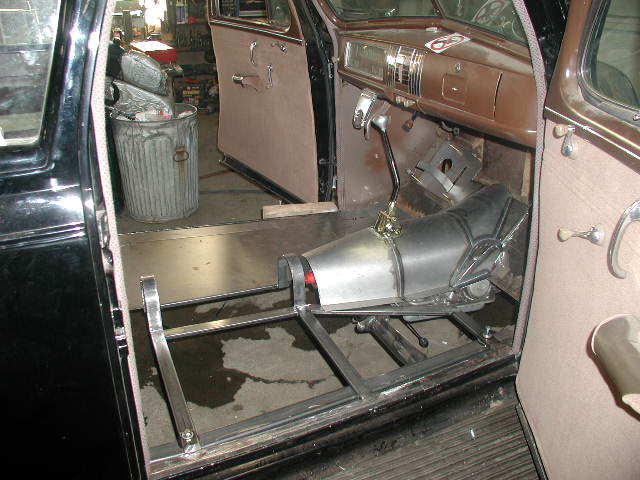
| Flat bars were welded across the floor to keep the body in shape. Loops for the tunnel were fabricated and welded to the flat bars. The flat bar below the loop was then removed and we had the foundation for the interior sheet metal. The shifter is a Lokar unit. | |
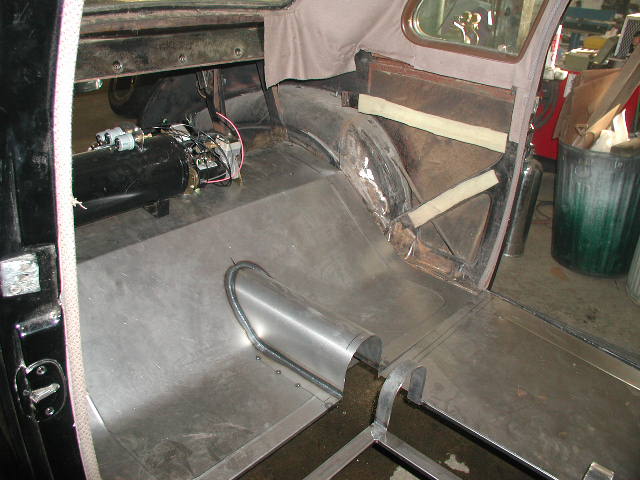
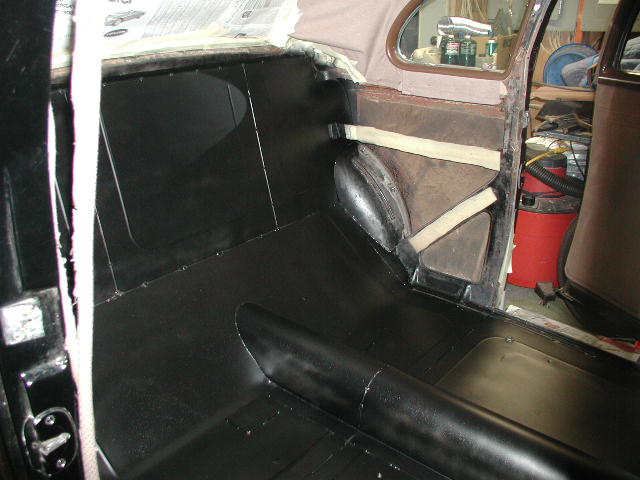
| Here you can see the fabrication of the new sheet metal in the rear of the interior. | |
| For seats, I ordered new bucket seats from Glide Engineering. Here we are test fitting the seat to see how things line up. | |
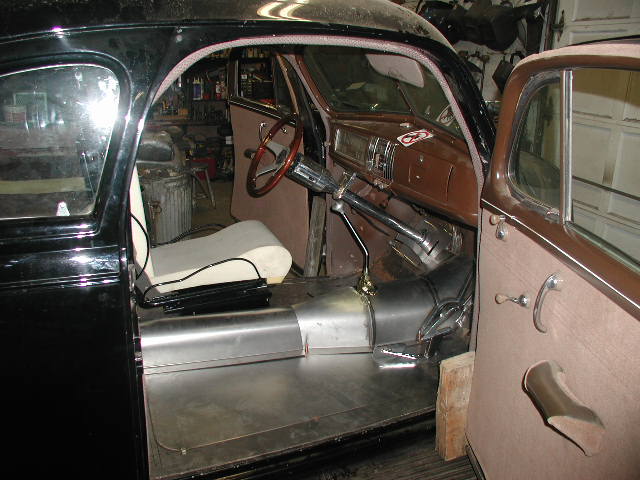
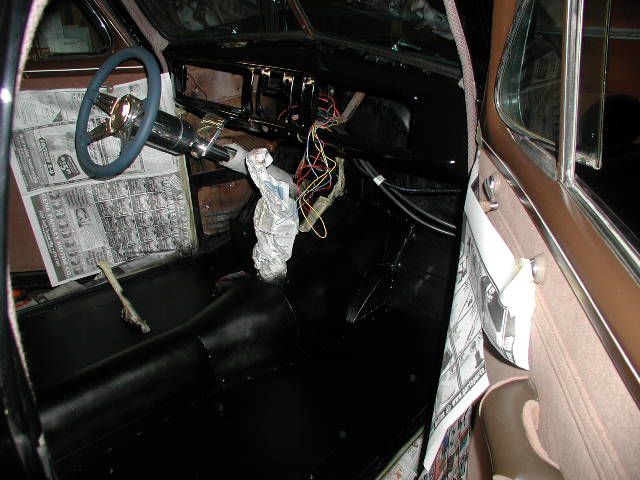
| In this photo you can see the sheet metal covering the transmission. That is not the real steering where but it did allow us to get the proper alignment for the Billet Specialities steering column. | |
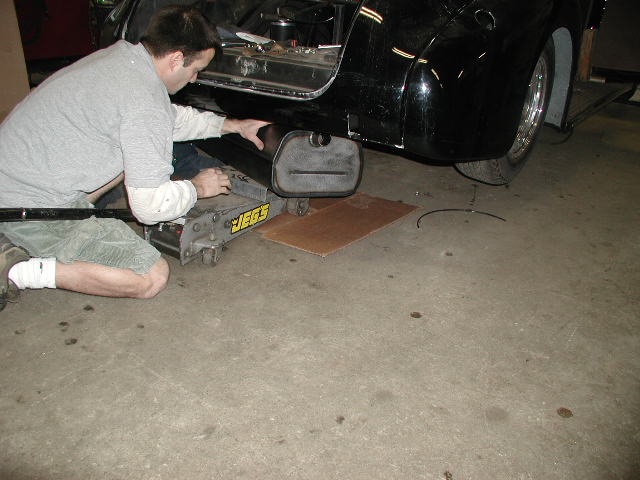
| A new frame needs a new gas tank. I originally ordered a poly tank from Tanks, Inc., but my new frame was slightly narrower in the rear than stock. Just enough so that it would not fit. The folks at Tanks had some material for metal tanks that they used to make and these would fit my modified frame. The new tanks fits perfectly and gives me at least 4 more gallons than stock. | |
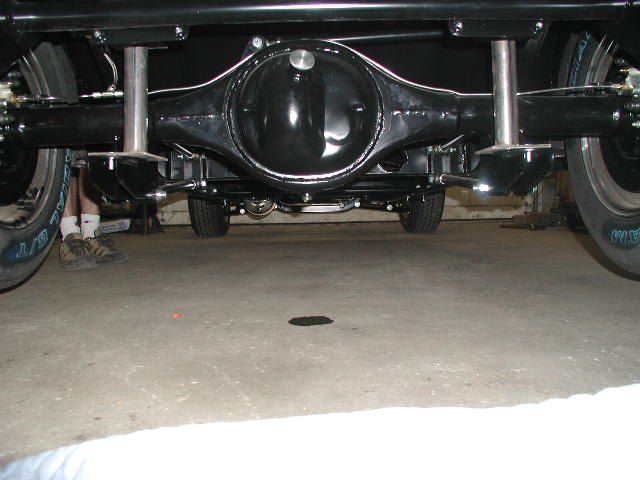
| Once everything was fitted to the new frame, you have to take it all apart to get the frame powder coated. This was done by American Powder Coating in Auburn, WA. Here is a shot of the underside showing the new rear end. Until we had the air system working, metal spacers were used in the spring locations. Here you can see them in place. The rear disk brakes are from Ford's SVO division and are the Ford Explorer style units. | |
| Here you can see the front end before installing the new engine. Ron Pircey does beautiful work on the stainless brake lines. Something that comes with experience. The master cylinder and power boost unit were from R.B.'s Obsolete Automotive in Edmonds, WA. (now Glendale, AZ) | |
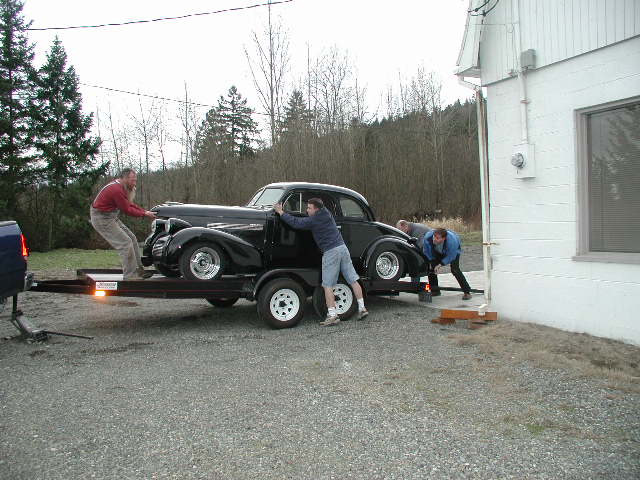
| By the first of February 2002 the car was ready for me to bring home so that I could start my part of the work. Here we are pushing the car onto my trailer. None of the electrical was in yet so human power got it loaded. | |
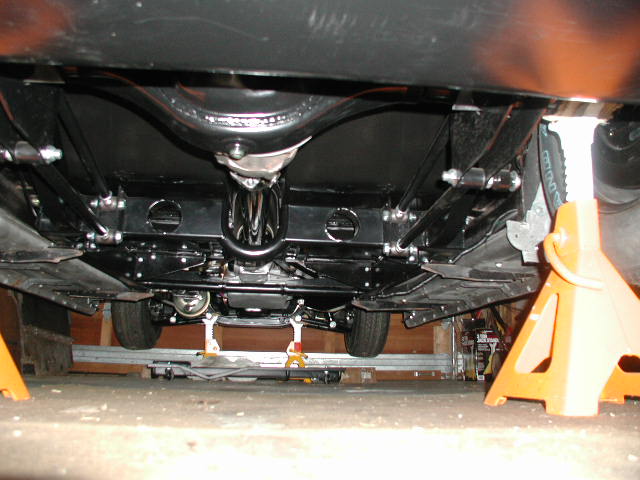
| The car spent the next few weeks up on jack stands as I worked on wiring and the plumbing for the engine. Here you can see the underside of the car with the drive shaft from Drivelines Northwest installed, but no exhaust yet. | |
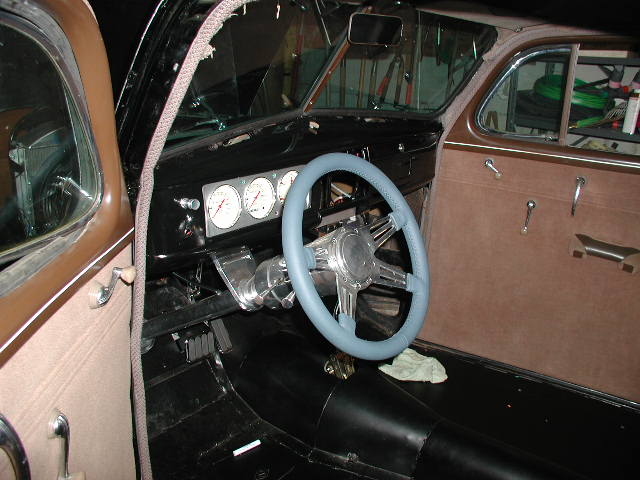
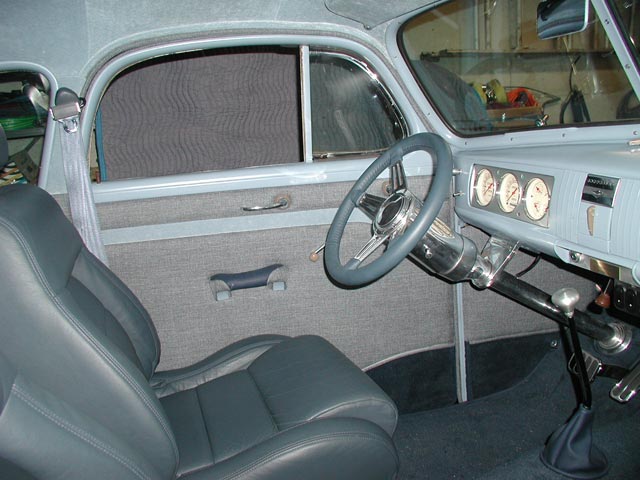
| All that new interior sheet metal needed to be painter to keep it from rusting. Here is the front where you can see the Lecarra wheel in place. | |
| Here is the new interior sheet metal in the back. | |
| The air compressor and tank are hidden behind panels in the back. These panels can be quickly removed using dzus fittings. | |
| I replaced the stock radiator with a new aluminum radiator from Griffin. The electric fan is a hurricane unit from R.B.'s. The engine is in place but still needs to be hooked up. | |
| To wire the car I bought a unit from American Autowire. The main unit is under the dash. | |
| The gauges are from Classic Gauges. These units put fours gauges in one quad unit that is only 3 3/8 in diameter. One can then have the speedometer and the tach all in one machined aluminum insert without cutting the dash. The pedals are from Lokar as is the hand brake and brake cables. | |
| After adding the starter, the pulleys, cables and other necessary goodies. The engine was ready to start. The wire looms are from Billet Specialities. The engine came with a long water pump but I changed this to a short water pump for more radiator clearance. | |
| Starting the car up and having it move on its own was a real thrill. I still needed to have exhaust added and the real air springs installed. | |
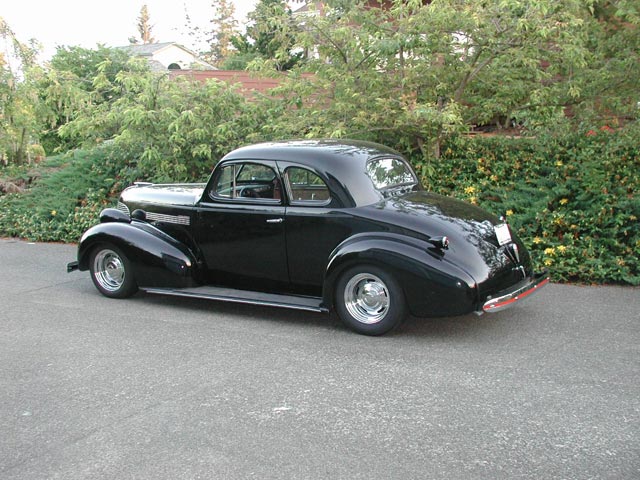
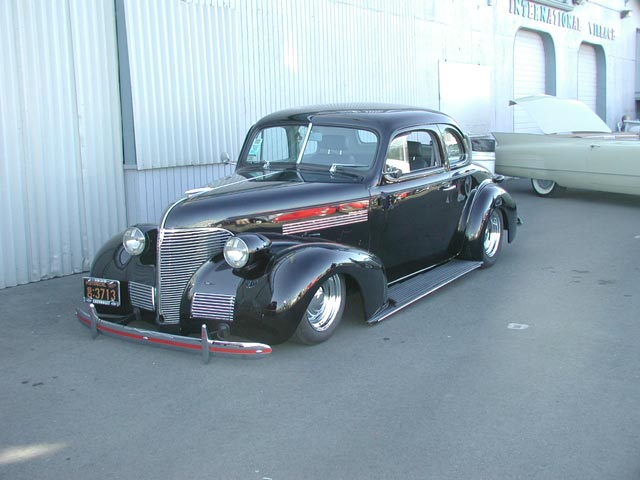
| I had the exhaust system installed by Stan's Headers of Auburn, WA. With the air springs installed I could now control the ride height. Here are the first pictures of the car in its "ready to cruise" stance. | |
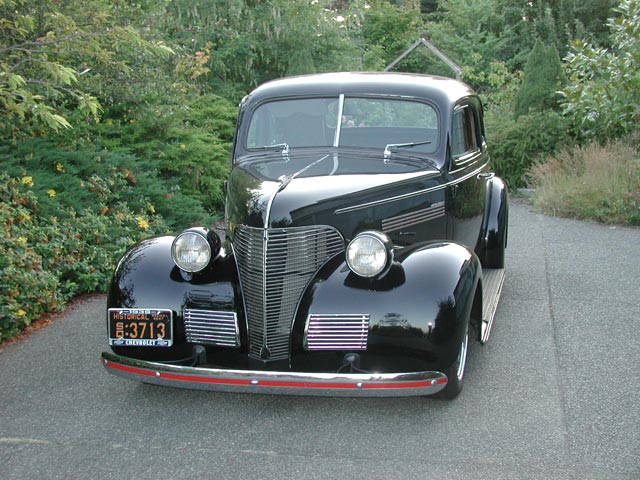
| Here is the view from the front. | |
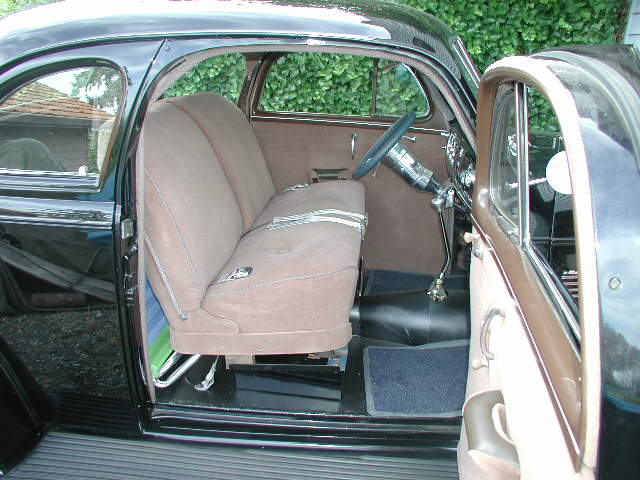
| The Glide Engineering seats were not back from the upholstery shop yet so I bolted the original seat back in and headed to Yakima, WA for its first outing. | |
| The Air Ride Technologies system really gives a smooth ride, but also allows you to drop the car down in the weeds. Here we are "mowing the lawn" at the fair grounds in Yakima. | |
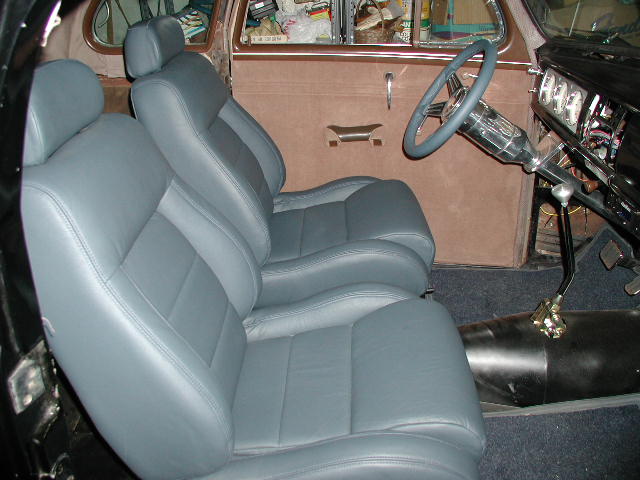
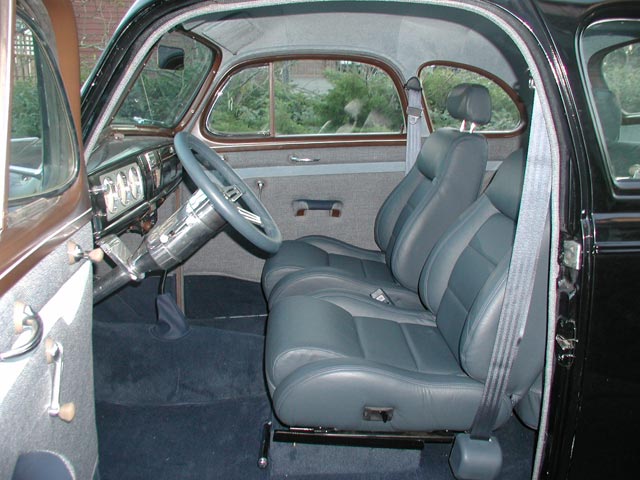
| The seats finally got their leather covers from Bob Jasper. I also had the original jump seats done in the same hides. As an opera coupe you get a gas tank located under the trunk like the sedans, jump seats in back, and sliding glass in the rear quarter windows. I still have the rest of the interior to complete. | |
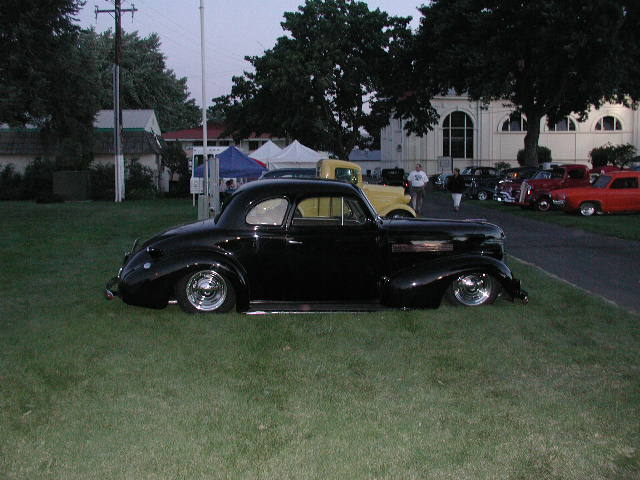
| In late September we took the car to a show in Sumner, WA. You can see what the Air Ride system does for the stance. | |
| Here is another view from the Sumner car show. The body is unchanged from its stock restored condition, except for the fact that all the running gear is brand new. | |
| The rest of the interior finally got much closer to being finished with new rugs, panels, and headliner. These were all made by Bob Jasper of Jasper's Custom Auto Upholstery in Tacoma. Bob has been doing interiors for over 40 years. | |
| Another view of the new interior. | |
| The trim pieces needed to be painted to match the new interior. In this photo you will see how it all fits together. | |
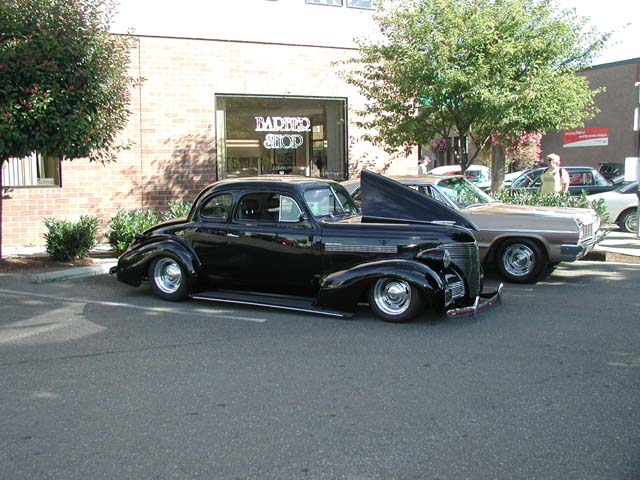
| Here is the car at the Goodguys show in Puyallup, WA this summer. | |
| Red Horse Drive In - Ellensburg, WA on June 21, 2007. The car took first place in the 1930-39 class. | |
Links:
My 1939 Chevrolet Coupe page
My Family Home Page
My 1937 Chevrolet Truck Page
Send comments to: erickson@seanet.com