House


Return to Portfolio

My house began its life as a little shack in the woods back in 1918. Over the years, added-on decks were enclosed - build a new deck, enclose it - build a new deck, enclose it... and so on, without much adherence to building code.

To see a larger image, slide-show version, click here, or on any of the images below.


In The Beginning...


View west of living room

The area seen here, with the windows and door, was once one of those decks.


Destruction


Plaster and lath removed

The start of the living room destruction. I've never cared for the odd lumpy plaster texture on the walls. The best fix was to remove the plaster and lath, and then replace with drywall. That opened up the walls to allow me to insulate, re-wire, and repair some rot.


Old Work


Jacking the beam

Here I'm re-working some original construction (and kinda scary) "solutions." The 16-foot-long overhead beam was sagging about an inch, so - after adding support below in the basement, I jacked up the beam (ever so slowly).


New Work


New post

I then added much more substantial support to the ends of the beam and tied it structurally into the house far better than it was before.

The more I work I do here, the more I'm amazed at how how this place has survived the various earthquakes over the last 84 years!


The Inspector


The Inspector

Ah, yes - the real owner of the house. You can see, in the background, some of the cabinets I built for his kitchen.


Insulation


InsulWeb installation

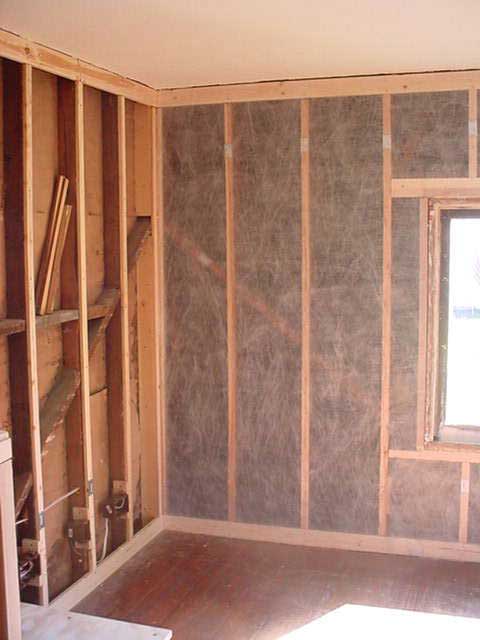
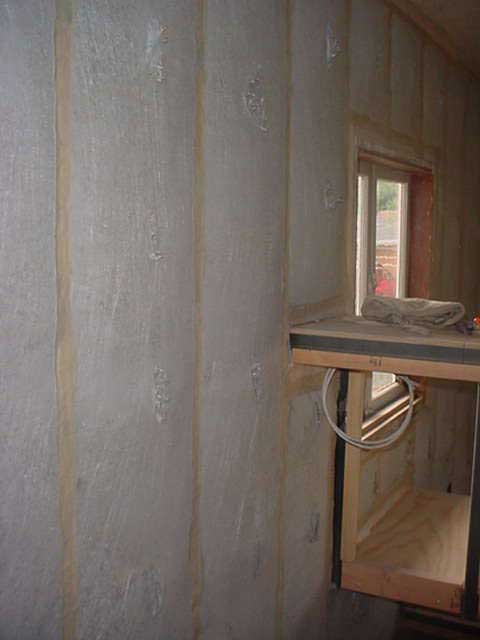
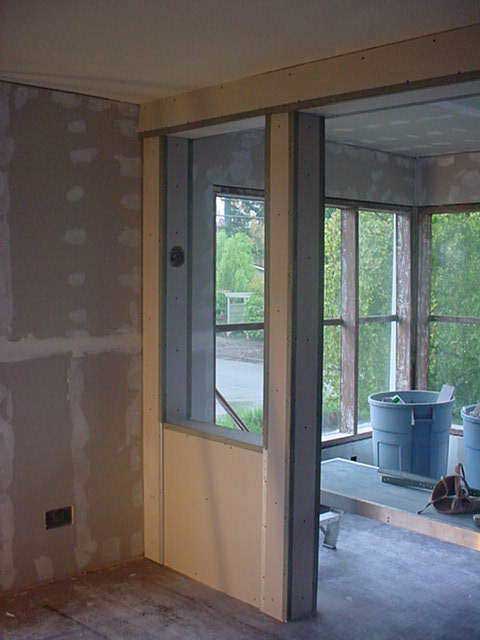
I chose to insulate with blown cellulose instead of fiberglass batts. I covered the exposed studs with a non-woven fabric, similar to fabric interfacing, which let me blow in the cellulose insulation before I put up the drywall.

Another technique is to drywall first, bore holes for the blower hose, fill and then patch the holes. Doing it that way, however, you run the risk of popping the drywall off the studs.

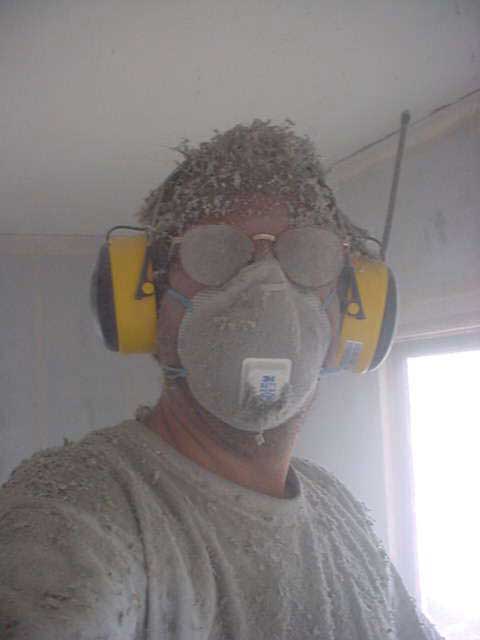
Insulating with cellulose is more work than fiberglass, but after researching both, I concluded that cellulose was a better choice.


Are We Having Fun Yet?


Airborn cellulose

Then, using a rented blower, I pumped the chopped cellulose into the walls. I looked like I got flocked for Christmas; fortunately - it doesn't itch. This is a great illustration of "not breathing air you can see."


The Padded Room


Dense-pack cellulose

One big difference between fiberglass batts and dense-pack cellulose is its sound deadening qualities. As shown in this photo, with just the cellulose - the room was acoustically quite dead.

It is, of course, brighter sounding with the drywall up, but the noise transmitted through from the outside has dropped considerably.


So Close


Soon, paint

All wiring is done - power, cable and phone. Insulation installed, drywall is up with one coat of mud.

I had to leave the existing ceiling plaster in place, 'cause it's holding up the cellulose I blew into the attic last summer, so it was time to learn how to do a plaster skim-coat to smooth over the existing texture.


A Fine Fir Floor


Sanding fir floor

When I pulled up the carpet I had hoped the floor would be salvageable. It was, very - although it did take a lot of work. I replaced whole boards from an earlier job where needed, routed in patches, and covered squeak-stopping screws with fir plugs. I also broad-filled the floor with a slurry of fir saw dust and varnish.

My research suggested not to do this, since fir moves a lot and the fill could pop out later. But I figured - if I didn't fill, I'd have gaps. If I did fill, I might have some gaps - later.

In any event, the floor turned out great!


Done... almost


Baseboard, then Furniture!

The windows are trimmed out and the crown moulding is installed. I have some paint-touch up to do, and then install the baseboard and shoe moulding.

Building a desk, and bookshelves (never enough of those!) are the last few things to do... well, in this room anyway!


Return to Portfolio
Top of Page