Windows Live 2009

Email Set-Up

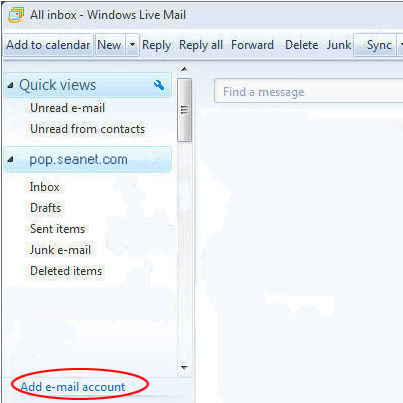
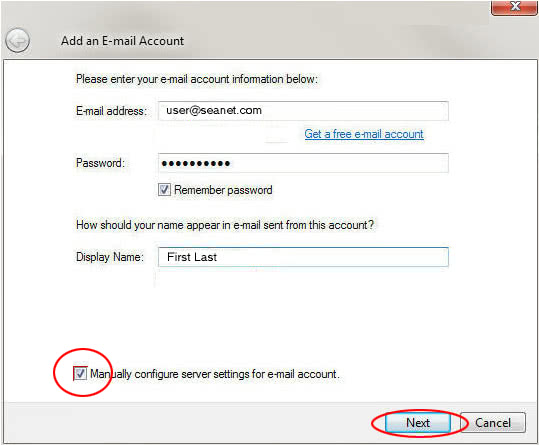
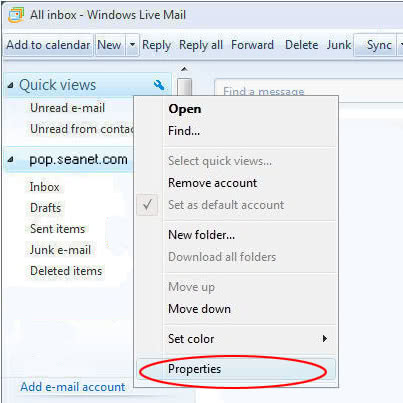
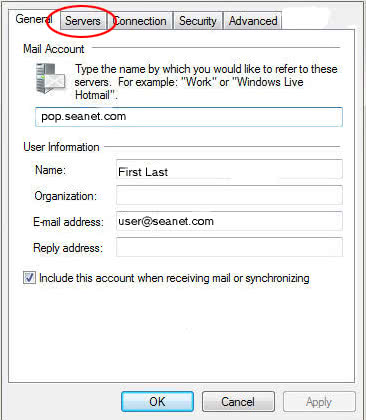
This brief walk-through will show you how to setup/configure your Seanet account in Windows Live Mail 2009.

  1. Open mail then click on the “Add an email account” link. If you are just reconfiguring an existing account then right-click on your account and then click on “Properties”. After that skip to step 5 to continue reconfiguring your account.
  2. Fill out the information. Email address is your Seanet email address. Password is the password associated with that email address. Display name is the name that people will see when you email them. Most type in their first and last name. After filling it out, select the box “Manually configure server settings for e-mail account.” then hit “Next”.
  3. Select POP3 from the drop down menu. Type 
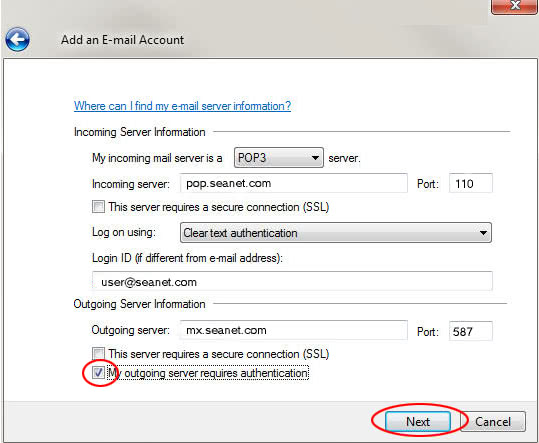
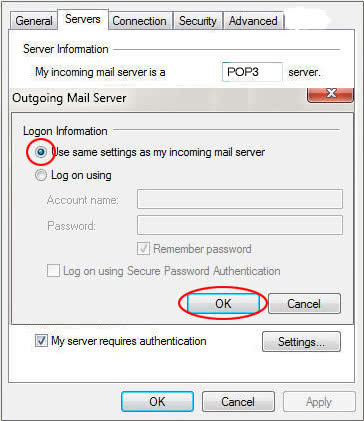
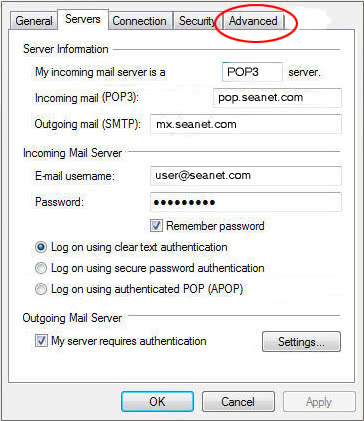
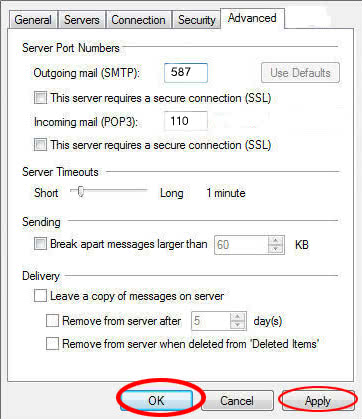
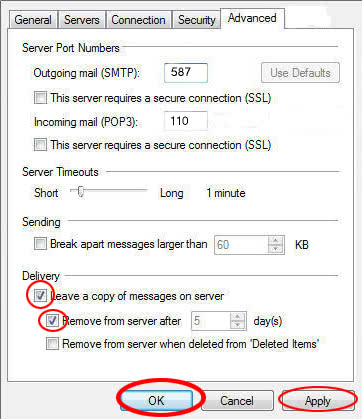
pop.seanet.com for the incoming mail server. Leave the port set at 110. Type your seanet email address in the “Login ID” field. Type mx.seanet.com and set the port to 587. Check the “My outgoing server requires authentication” box and then click “Next”.
  4. Click the “Finish” button.
  5. Right-click on the email account then click on “Properties”.
  6. Click on the “Servers” tab.
  7. Check the box “My server requires authentication” then click the “Settings” button.
  8. Leave the “Use same settings as my incoming mail server” radial button selected then click the “OK” button.
  9. Click the “Advanced” tab.
  10. Outgoing mail port should be 587, incoming should be 110. If you plan on using this email account on more than one computer, follow the step below. If not, skip the next step and click on “Apply” followed by “OK”.
  11. Check the boxes “Leave a copy of messages on server” and “Remove from server after 5 days” then click “Apply” followed by “OK”.

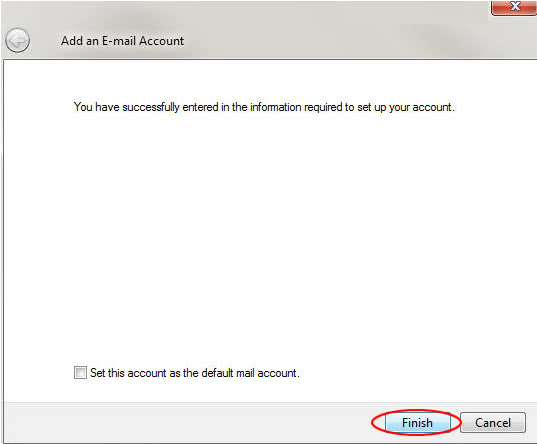
You should now be able to send and receive email using your Seanet account with Windows Live Mail 2009.